I spent way too long trying to make a good burger with a thick patty before I learned that smashing it thin against a hot surface is what actually gets you that crispy, lacy edge you get at a good diner.
Why You’ll Love This Recipe
- Ready in about 15 minutes
- The smashing technique creates a crispy edge you can’t get from a thick patty
- Works on a griddle, cast iron pan, or flat top grill
Ingredients You’ll Need
| Ingredient | Quantity | Notes & Substitutions |
|---|---|---|
| Ground beef, 80/20 blend | 1 lb | The fat content matters here, don’t go leaner |
| Salt and pepper | To taste | Season only after smashing, not before |
| American cheese | 4 slices | Melts the most reliably of any cheese |
| Burger buns | 4 | Something soft that can handle a quick toast |
| Onion, thinly sliced | 1/2 | Optional, smashed into the patty for extra flavor |
| Pickles, lettuce, and sauce | For topping | Whatever you usually like on a burger |
Pro tip: use a sturdy spatula and press down hard and fast, right when the meat hits the hot surface. Waiting even 30 seconds to smash it makes the patty seize up and resist flattening.
Kitchen Tools & Equipment
- A griddle, cast iron skillet, or flat top
- A sturdy metal spatula for smashing
- Parchment paper, useful for smashing without the meat sticking to the spatula
Step by Step Instructions
Step 1: Prep the Ingredients
Divide the beef into loose balls, about 3 to 4 ounces each. Don’t compact them, keep them loose.
Step 2: Start Cooking
Heat a griddle or skillet over medium high heat until very hot. Place the beef balls on the surface, leaving space between them.
Step 3: Add Layers of Flavor
Immediately press each ball flat with a spatula, using a piece of parchment paper between the spatula and the meat if it sticks. Season the top with salt and pepper right away.
Step 4: Bring It All Together
Cook 2 to 3 minutes, until the edges turn deeply browned and crispy, then flip and add cheese.
Step 5: Serve and Enjoy!
Cook 1 more minute to melt the cheese, then build the burgers on toasted buns with your favorite toppings.
Expert Tips & Common Mistakes to Avoid
Tips:
- Smash the meat immediately after it hits the hot surface, not after it’s already started to cook.
- Use a higher fat ground beef. Leaner blends don’t crisp the same way and can dry out.
Mistakes:
- Pressing the patty down more than once, which squeezes out the juices you actually want to keep.
- Flipping too early, before a proper crust has formed on the bottom.
Recipe Variations & Customizations
- Gluten Free: use a gluten free bun, widely available now at most grocery stores.
- Spicy: add pickled jalapenos and a spicy mayo.
- Double up: use two patties per burger, which is honestly the more traditional smashburger format.
What to Serve With This Dish
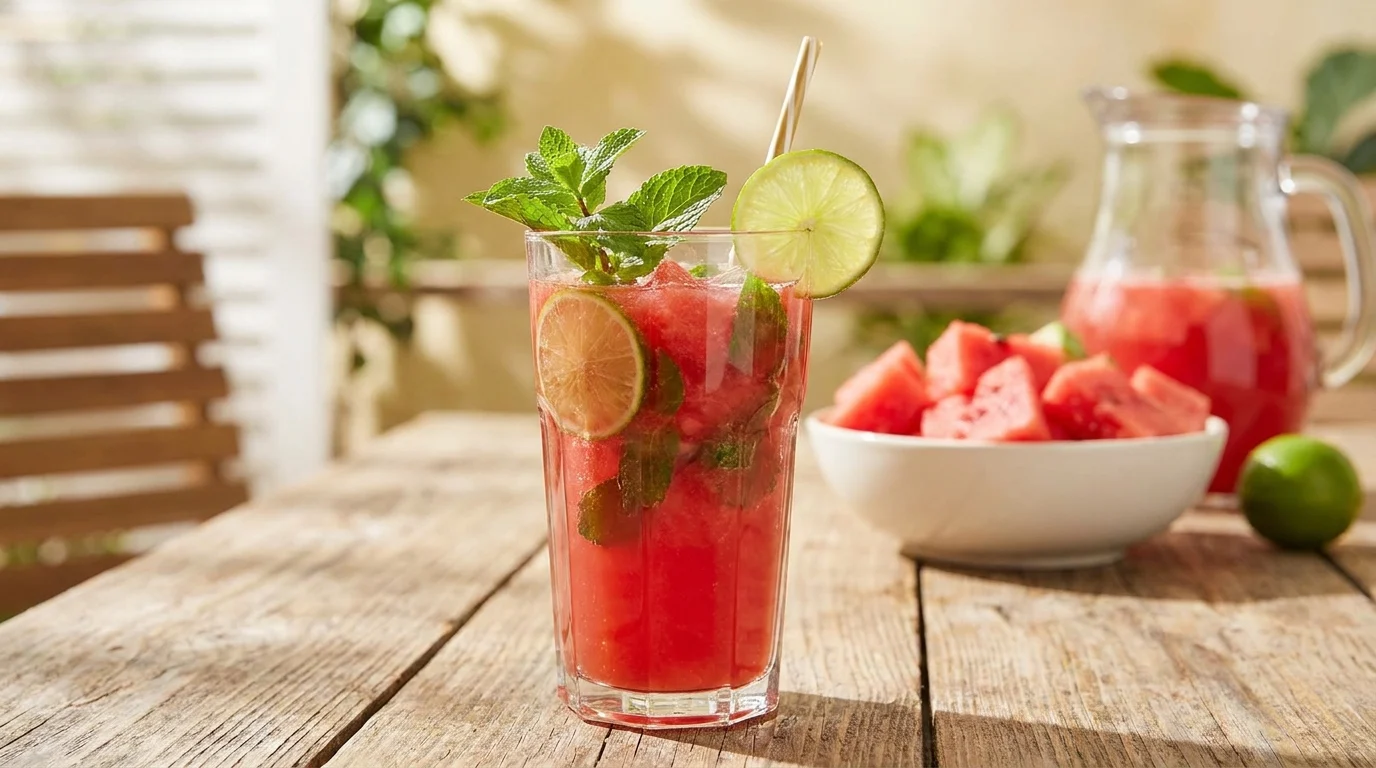
Pair with air fryer frozen french fries and a cold drink for the full diner style experience at home.
How to Store & Reheat Leftovers
Storage: store cooked patties separately from the buns and toppings, in the fridge, for up to 3 days.
Reheating: reheat in a skillet over medium heat for a couple minutes per side. The microwave works but the crispy edge won’t come back.
Freezing: freeze uncooked beef balls, before smashing, for up to 3 months. Thaw in the fridge before cooking.
FAQs About This Recipe
Why do I need higher fat ground beef?
The fat renders out during cooking and helps create that crispy, lacy edge. Leaner beef doesn’t crisp the same way and can end up dry.
Can I make these without a griddle?
Yes, a cast iron skillet works just as well, as long as it gets properly hot before you add the meat.
Final Thoughts
Once you get the smashing technique down, it’s hard to go back to a thick, plain patty. The crispy edges are the whole point.
Save this one, it’s a weeknight dinner that doesn’t feel like a compromise.